This is the first article in a series. To jump to the other articles, follow these links.
[Lesson 1 | Lesson 2 | Lesson 3 | Lesson 4]
Lesson 1
- Creating a skin
- Creating a window
- Changing window properties
- Adding controls
- Moving and sizing controls
- Multiple selection
- Using the layout toolbar
- Creating anchors
- Undo/Redo
- Default controls
BYOND 4.0's most powerful new feature is the ability to totally change the interface of your game. By creating a .dmf skin file, you can radically change the way your game looks and acts compared to any other game. So what can you do with skins and how do you make them? Let's find out together.
In this tutorial series I'll be creating a skeleton game (that is, just something very basic, not actually a game about skeletons) and building a skin to go with it, exploring the possibilities that BYOND's new interfaces have to offer. It's time to get started, so create a new project. Once that's up, create a new skin file to go with it.
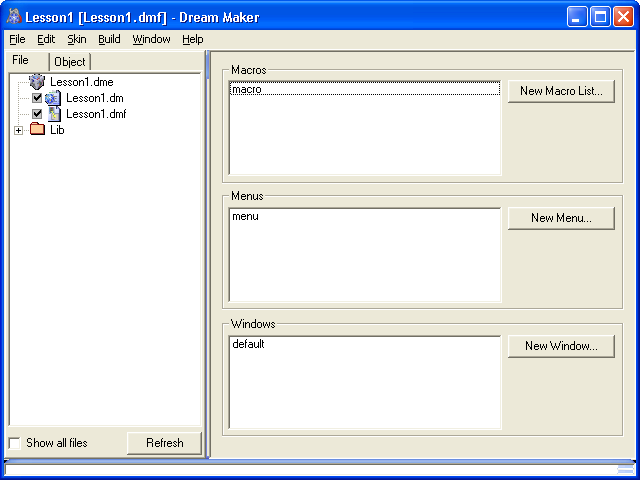 The first thing you'll notice is that we're not starting from scratch. Not exactly, anyway. You have a basic set of macros, a basic menu, and a default window. The basic macros are your regular arrow keys, so let's leave those alone for now. The menu we'll worry about later. The first and most important stop is the window editor. Double-click on the window name to get started.
The window is totally blank. This is a brand new canvas for you to add game controls to. Before doing that, you might want to think for a moment about what kinds of things you'll want in your interface. Usually a map is a good idea, and an input control—if your game even uses verbs—and maybe an output control for text. What kind of game is it, anyway? For the purposes of this tutorial, the game will be a basic run-of-the-mill multiplayer RPG. That means we'll have things like equipment and inventory, character stats, and maybe an overhead world map of some kind. We have a lot of options, but for starters let's just start small.
Before we start adding things, we should give the window a proper name. We need to open the window's properties, so right-click on it. 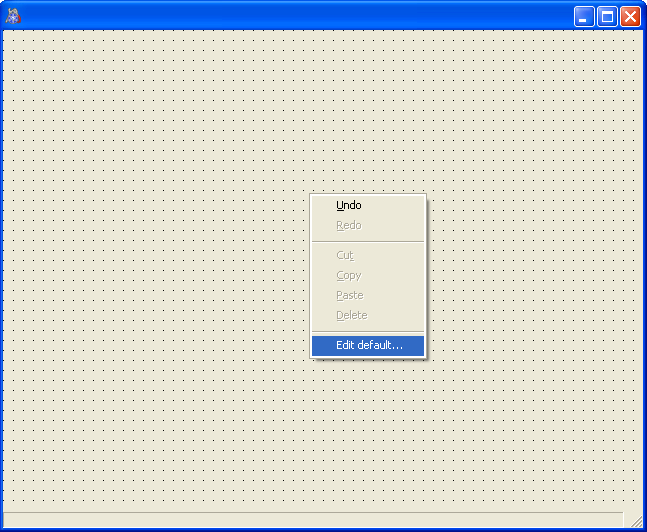 You'll see a menu pop up that gives you the choice to edit the window. Click the edit choice; the properties box for this window will appear. Go over to the window's properties and find the General tab, then change the ID. We'll call this window... mainwindow.
 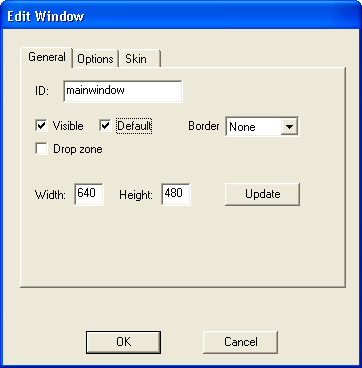 No need to get fancy, right? For now, leave the other options here just the way you see them. Make the window a little bit bigger by dragging one of its edges. Now we can move right on to adding some controls.
In BYOND 3.5, the map is always in the upper left corner. Have you ever wanted to change that? Now's your chance. Let's say in this interface, the map will go in the middle. Maybe it'll still be at the top of the window, but it won't be shoved over to the side. All the action will be front and center. Then on either side we can fill in with other interface items.
Go ahead and click the Map button in the editor panel.  Then click somewhere inside the blank window. A big square now appears in the window; that's where our map will be.
 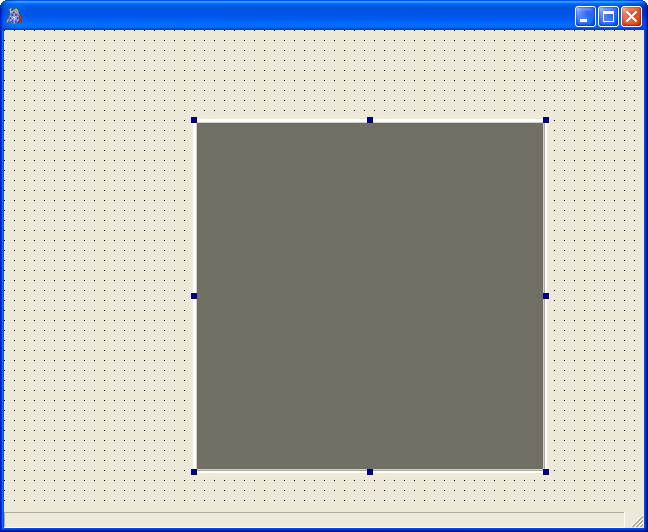 Try clicking the map and dragging it around with your mouse. Then, try resizing it by clicking one of the edges with the mouse and dragging to the size you want. Right now, you'll see it's snapping its position to a grid. By going to the layout control toolbar, you can make the grid disappear and/or stop using it to guide the controls you place. Move the map to somewhere near the middle of the window, but don't feel like you have to get it exact; that comes next.
Now, let's put an input control in there so you can type in verbs. Click the Input button, then click again in a blank part of the window. An input box will appear. 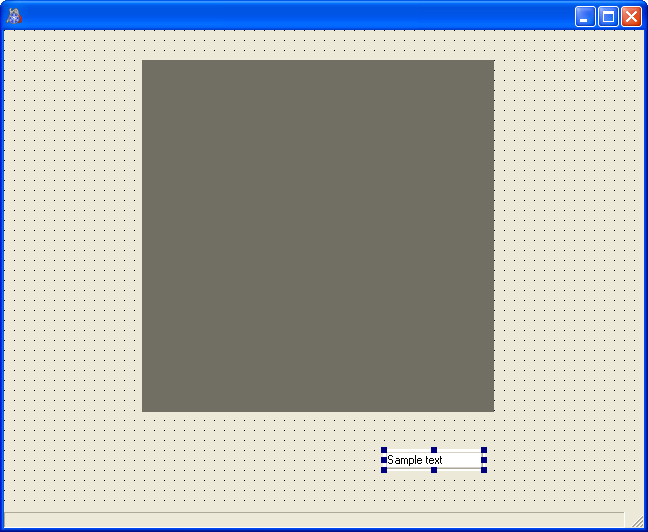 Drag it out a little bit so it's longer. Then move it to somewhere below the map, but again, don't worry about getting it exact.
It's time to check out the layout controls toolbar.  You'll see a lot of buttons with icons showing what they do. Hover over them with the mouse to see what each button does. One of those buttons looks promising: Join top and bottom edges. Try clicking it. Nothing happens, but why?
Like a lot of layout buttons, this is designed to work with more than one control at a time. Right now you should still have the input control selected. You can select the map, too, so that they're both selected at the same time. Hold down the Ctrl key and click the map. Now you should see selection boxes around both the map and the input controls. Try moving them around a little and you'll see that they move together. If you Ctrl+click the map again, it gets taken back out of the selection.
Now Ctrl+click again so the map is selected once more. You'll see that the handles around the input control are just simple outlined squares, but the handles around the map control are filled in.  That means the map is the dominant control. Right now, the map is basically your "anchor" for any layout commands. Try clicking the Join top and bottom edges button again. Suddenly the input control has jumped right up to the bottom of the map, touching it exactly!
Why did the input control move but the map didn't? On the layout controls toolbar, you'll see the very first button is pushed in. That says Relative to dominant control. In other words, right now any layout changes will work around the map control. Try another layout command to see. How about Align left edges? If you click that, the left edge of the input control now sits in exactly the same place as the left edge of the map. Look a little further down the toolbar, to a button that says Give controls the same width. As you might guess by now, when you click that the input control will be just as wide as the map. Go ahead and click it now. Finally, it's time to center everything neatly. Click the button that says Center selection horizontally in window. 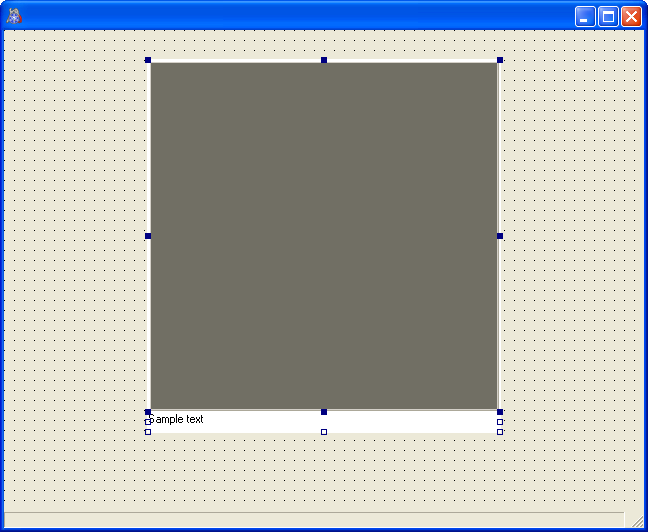
Right now if you were to resize the window, the controls wouldn't resize along with it. How do you do that? You need to give them anchors. Open the map's properties, and go to the Anchors tab. To start with we'll try some simple anchors. Make anchor #1 the top left of the window, and anchor #2 the bottom right. 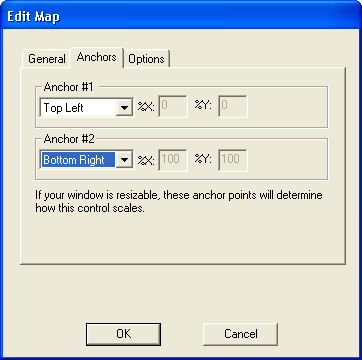 Try resizing the window now.
The map resized and moved with the window, but the input control didn't. Since we don't want to ruin the layout we had going, let's change the window size back. The easy way to do that is to go to the menu on the editor panel and select Edit | Undo. It will actually say "Undo resize" here. Use the menu or press Ctrl+Z. After changing that back, undo a few more times and watch your changes roll back. Now hit Ctrl+Y, which is the shortcut for Edit | Redo, and redo everything that came before the size change. If you're not sure how far to go, just keep redoing until nothing's left to redo, then undo once. You may have noticed while looking at the Edit menu that there are some clipboard commands too, but we'll get to those later.
Now it's time to give the input control some anchors. Go to the input control's properties, the Anchors tab again. As you might have guessed by now, we won't be using the same anchors for this one. It would look silly if it could stretch vertically like the map did, wouldn't it? The input control only needs to stretch horizontally, and it should keep its position relative to the bottom of the window, but it really doesn't need to care about the top. So instead of top left and bottom right, let's try the bottom left anchor, and the bottom right. Once the anchors are set, try resizing the window again.
As you see, the map and input controls are still stuck together just the way you set them. The map will stretch vertically as needed, but they'll both stretch horizontally.
That's almost it for this first lesson, but there's one more thing you should do first. Go back to the input control's properties and go to the General tab again. See the checkbox that says Default but is turned off? Click it to check the box. This will now be the default input control. Unless you click in a different input control, all keyboard input will be directed right here. Now do the same for the map. Even though you'll only ever have one map, it needs to be told it's the default map. 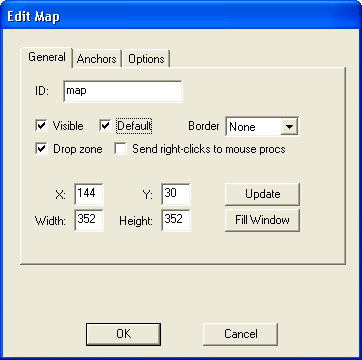
So far, so good! Try adding a few more controls and playing around with their anchors. When you feel really comfortable with placing stuff in a window and using the anchors and the layout toolbar, you can move on to Lesson 2.
Exercises:
- Play around with the Relative to buttons in the layout toolbar and try out some different layout commands.
- You don't just have to anchor things to the corners! Create some anchors that use the Other setting, which lets you set X% and Y% directly.
- Check out the menu on the editor panel. The very same commands from the layout toolbar appear here. In fact, you might find it even easier to use.
- Also in the editor panel's menu, you can change some preferences. Go to Options | Preferences and play with the settings for grid size and drag sensitivity.